Part of the reason I have been so quiet on the blog lately is that we have been busy with hockey playoff season! My son plays for a top level team for his age, and he and his buddies played some amazing hockey for us this season, stuff that would put The Jets to shame!
It was a long road, but they made it alllll the way to the end- game 3 in a best of three for the finals! And they came out as the champions!!
Could not be a prouder hockey mom of this hard working boy xoxo
To help support our boys along the way, the moms banded together for a night of wine and appetizers to make team scarves! It was a simple pattern- fleece in team colours cut in long strips, I sewed them together along the middle, and then all the moms used scissors to fringe the edges.
Don't we look sharp?? No wonder we won!
Congratulations to the boys and families of 9A1 River East Royals White! What a great season :)
Showing posts with label hockey. Show all posts
Wednesday, April 9, 2014
Wednesday, March 13, 2013
Hockey Quilt Pattern is here!!!
Over 2 years ago, I made a hockey rink quilt for Big G for his birthday.
I can't tell you how many wonderful compliments and comments I have received about it. And I promised multiple people that I would write a pattern. But life is busy and my computer graphics skills are nil and time just passed!
Well, thanks in large part to a big helping hand from my wonderful quilty friends Tracey and Ali, it is finally done and in my shop!
I named it The Good Old Hockey Game quilt pattern as a tribute to the song by Stompin' Tom Conners, who sadly passed away last week. The pattern is in PDF format and includes a combination of graphics and photos, along with templates, to guide you through. This is a great pattern for beginners as it involves basic patchwork and an introduction to simple pieced and appliquéd curves.
It comes together quickly and the top could easily be pieced over a weekend! The pattern is for a twin sized quilt top, finishing up at 68" by 88".
To thank you for your patience in waiting for this pattern, I have applied a 20% coupon with the code LONGWAIT20. This coupon is valid now through March 20/13.
This is my very first pattern and I am so excited to finally have it complete after a loooooong process! hope you like it, too :)
I can't tell you how many wonderful compliments and comments I have received about it. And I promised multiple people that I would write a pattern. But life is busy and my computer graphics skills are nil and time just passed!
Well, thanks in large part to a big helping hand from my wonderful quilty friends Tracey and Ali, it is finally done and in my shop!
I named it The Good Old Hockey Game quilt pattern as a tribute to the song by Stompin' Tom Conners, who sadly passed away last week. The pattern is in PDF format and includes a combination of graphics and photos, along with templates, to guide you through. This is a great pattern for beginners as it involves basic patchwork and an introduction to simple pieced and appliquéd curves.
It comes together quickly and the top could easily be pieced over a weekend! The pattern is for a twin sized quilt top, finishing up at 68" by 88".
To thank you for your patience in waiting for this pattern, I have applied a 20% coupon with the code LONGWAIT20. This coupon is valid now through March 20/13.
This is my very first pattern and I am so excited to finally have it complete after a loooooong process! hope you like it, too :)
Labels:
hockey,
hockey quilt,
hockey rink,
NHL,
pattern,
pdf pattern,
quilt,
quilt pattern,
quilting,
twin quilt
Saturday, January 22, 2011
Monogrammed drawstring bags-a tutorial
Well, here I was sitting on a bunch of yards of U-G-L-Y hockey themed fabric, rejected from the hockey quilt, and a hockey-themed birthday party on the horizon. What to do? Hockey loot bags, of course!
I think these would make wonderful general gift/stuff bags as well (especially in cuter fabric), so I thought I would share the process with you.

Finished bags measure up about 14" long by 12.5" wide. For each bag you will need:
-1 piece of fabric for the body, measuring 30 inches long by about 13 inches wide (i.e. you can get 3 across on a 30" WOF piece)
-Two scraps of coordinating colors for the monogram and its base
-A bit of Heat n Bond Lite to applique the initial
- About 30" of narrow twill tape, ribbon or string of some kind for the drawsting
-Thread, and iron etc- all the usual suspects
Here's what you do:
1. Pick a font on your computer for the initial. I used Franklin Gothic Heavy in size 300 here.
2. Print in mirror image.
3. Cut out.
4. Grab your Heat n Bond Lite and iron the glue side to the wrong side of your initial-making fabric.
5. Trace the reversed initial you made on the computer onto the paper side of the heat and bond. Cut out. If you are lazy like me, you can just hold the paper initial on it with your thumb while you cut around it. Flip it over and look at the fabric side...should look right!
6. Ta da! You have your initial ready. Now peel off the paper and iron onto your backing fabric. I cut my backing in a 4" circle, but feel free to do a square, heart or whatever floats your boat. Make sure it is larger than the initial, of course.
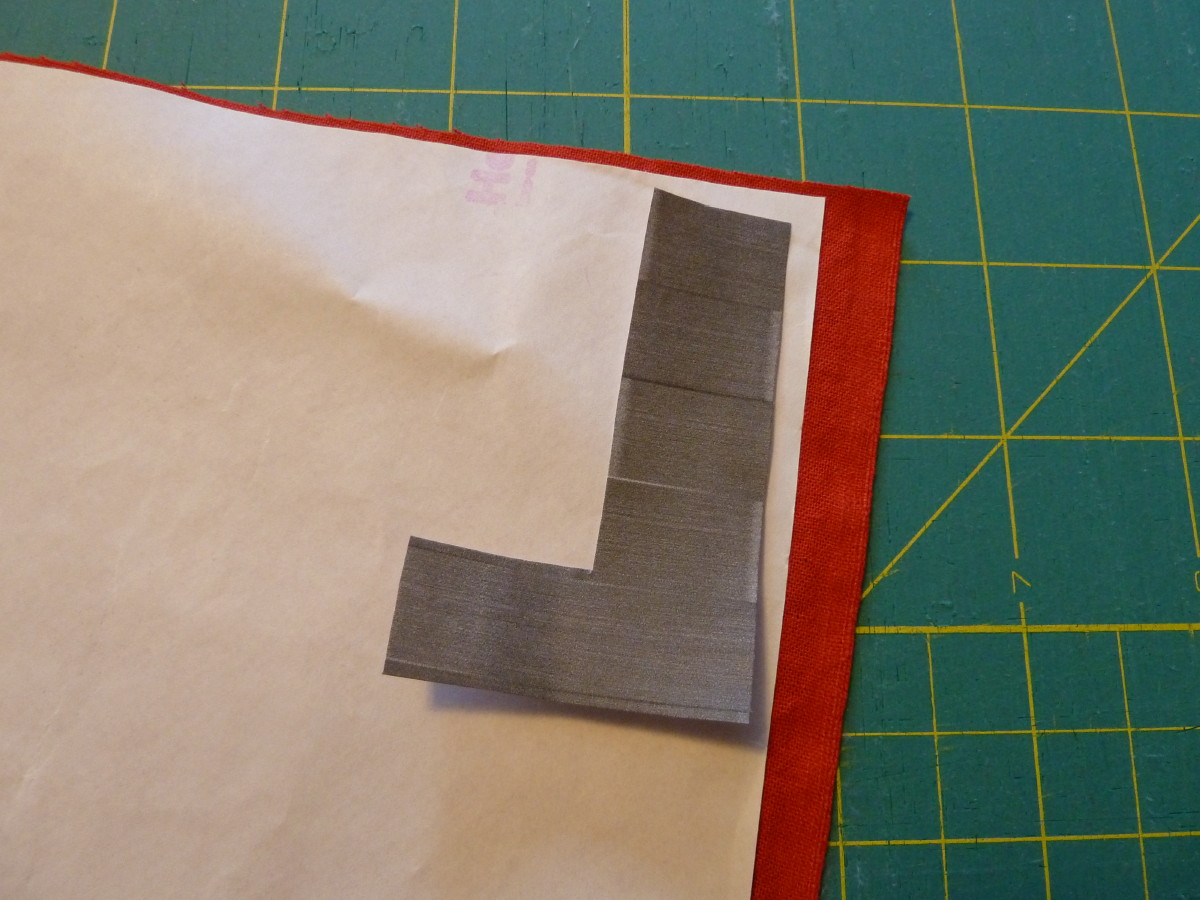
7. Topstitch on the initial to reinforce in a matching thread. If you are lucky enough to have letters made of straight lines, like the L here, just use your regular foot and pivot at the corners. For more curvy letters, like S or G, I used my free motion foot. I am thankful for coordinating thread...still working on this precision skill ;)
8. Take you big piece of fabric for the body of the bag, and fold it in half. Position the monogram where you would like it and pin.
Stitch in place. I used a blanket stitch here, but a straight stitch or zig zag would also be nice. Make sure you only stitch through ONE layer of the bag!
9. Refold the body of the bag with right sides facing. Do a straight stitch, with a 1/2 inch seam allowance, along the right side of the bag.

On the left side, stop stitching with 1.5" of bag top left. I went back again and did a zig zag adjacent to my straight stitches to reinforce.
(you may want to take a moment here to pay attention to anyone who may be seeking it.....)
10. That 1.5" part you left out? Fold the edges of it inward as shown, and do a straight stitch to make a V. This will be where the drawstring comes out.


11. With the bag still inside out, take the raw edge at the top of the bag and fold it over 1/4 inch to the wrong side of the fabric. Press.
Flip again, this time 3/4 inch (or wider if you have a wide sting for the drawstring).
12. Stitch along edge of fold to allow channel for drawstring.
13. Do a tiny stitch at the top of the bag where the string will come out to anchor it as shown.
14. Use a safety pin to thread the drawstring through the channel, and push the ends to the outside. Knot free ends together. A big bow instead of a knot would look cute if you were using some ribbon.

15. Turn right side out and admire!

Now go fill 'em up with stuff the recipients will love!!
Happy sewing! If you make some bags from this tutorial, I would love to see them- check out my Flickr pool!
Finished bags measure up about 14" long by 12.5" wide. For each bag you will need:
-1 piece of fabric for the body, measuring 30 inches long by about 13 inches wide (i.e. you can get 3 across on a 30" WOF piece)
-Two scraps of coordinating colors for the monogram and its base
-A bit of Heat n Bond Lite to applique the initial
- About 30" of narrow twill tape, ribbon or string of some kind for the drawsting
-Thread, and iron etc- all the usual suspects
Here's what you do:
1. Pick a font on your computer for the initial. I used Franklin Gothic Heavy in size 300 here.
2. Print in mirror image.
3. Cut out.
On the left side, stop stitching with 1.5" of bag top left. I went back again and did a zig zag adjacent to my straight stitches to reinforce.
12. Stitch along edge of fold to allow channel for drawstring.
Subscribe to:
Posts (Atom)