Kaelin from The Plaid Scottie is here!I love Kaelin- we are kind of kindred spirits in that, aside from sharing our obvious passion for all things quilty, we both seem to suffer from a similar degree of obnoxiousness and inappropriate behavior ;) Which is great because whenever I hear a really funny fart story, I know just who to tell! (psssst- Go ask her about her recent visit to "Hancocks" Fabrics!!) Okay, I should also mention that Kaelin has an amazing blog, named in honor of her very cute pooch, Sir Whiskers MacTavish, and is currently hosting a Double Wedding Ring quilt along! That's not for sissies, people! She also does periodic "Scottie Watch" blog posts with all sorts of clever information from the quilting world. Kaelin has an etsy shop with fabrics as well as her pattern for her new Grab 'n' Go wristlet pattern. I was a lucky enough to test the pattern for Kaelin recently and can tell you it is wonderful. In fact, you can find out yourself- in addition to providing today's awesome tutorial for you all, Kaelin has offered to do a giveaway of her pattern for one lucky reader! To enter, just leave a comment below saying what other patters you would be interested in seeing :) NOTE: THIS GIVEAWAY IS NOW CLOSEDQuilted Hexie Pouch Tutorial
Howdy ho neighbors! I'm Kaelin from
The Plaid Scottie and I'm collaborating with my favorite Canadian Kristie to bring you a Quilted Hexie Pouch for her fabulous Bag Lady Week! The finished pouch measures about 7.5" x 7.5"
SUPPLIESFirst of all, you'll need to sew together a small panel of 2" hexies - 23 to be exact. The finished hexie will be about 1.5". If you need paper piecing templates for that size, you can create free ones
here. Just type in 0.75" in the "Hexagon Size" box and hit "Download PDF". The panel will have five rows with this many hexies in each (starting with row 1): 5 - 4 - 5 - 4 - 5. Refer to the 2nd photo down if you need a visual. If you've never made hexies before, then you can check out my other tutorial
here for instructions. The finished panel should measure 5.25" x 5.75". In addition to that you'll need:
(1) 9" zipper
Exterior Fabric (I used linen)
(2) 1.25" x 5.75" pieces
(2) 6.75" x 1.75" pieces
(1) 1.5" x 8.25" piece
(1) 8.25" x 8.25" piece
(1) 2" x 14" piece, with a medium-weight interfacing fused on the back (for wrist strap)
Lining Fabric (I used Orange Kei Dots)
(1) 1.5" x 8.25" piece
(1) 6.75" x 8.25"
(1) 8.25" x 8.25" piece
Flannel (I used white, but you might want a different color depending on your fabric choices)
(1) 1.5" x 8.25" piece
(1) 6.75" x 8.25" piece
(1) 8.25" x 8.25" piece
Note: You might notice throughout the photos that I have interfacing on the back of my exterior fabric. You won't need interfacing if you use regular quilting cotton, because the pouch is sturdy enough without it. I only used interfacing because I was working with linen and it keeps the fabric from stretching and distorting.
Alright. Let's get this party started. Grab you hexie panel. It should be sewn together just like the picture below.
Once you have your hexie panel sewn together, you'll need to square it off by trimming the ends. The top and bottom are fairly easy - just lop off the pointy ends. But on the sides, you'll need to fold out the seam allowances on the hexies in the short rows (the two rows with only 4 hexies).
Once the seam allowances have been pressed out, line up your ruler with the edge of the seam allowance and trim off the excess.
Grab your two 1.25" x 5.75" pieces and sew them onto the top and bottom of your hexie panel.
Press your seams to set in place.
Attach the two 1.75" x 6.75" pieces to the sides and press to set.
Grab your three flannel pieces and coat with a spray adhesive like
505. You can pin, but with something this small, it's much
much easier to spray baste. I keep a cardboard box lid in my sewing room just for spraying small projects like this.
Grab your 6.75" x 8.25" flannel piece (leave the other two where they are) and place your hexie panel on top of it. Press to adhere.
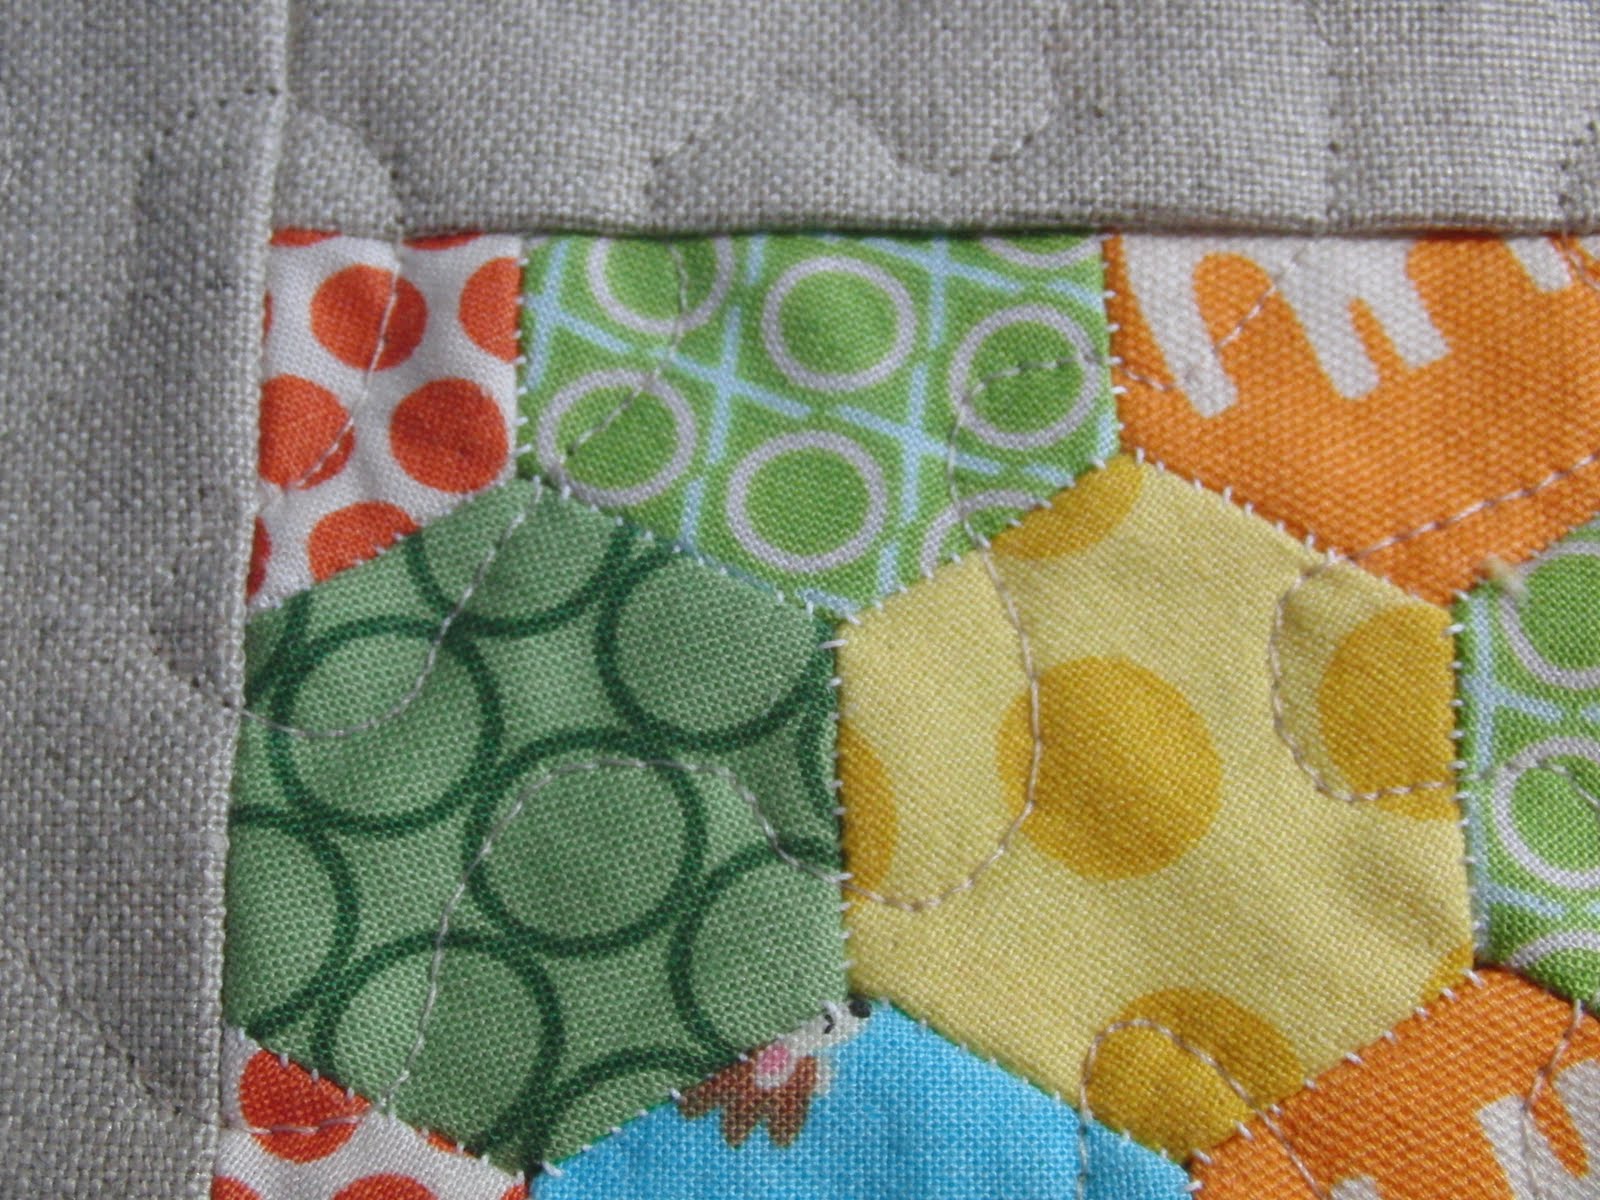
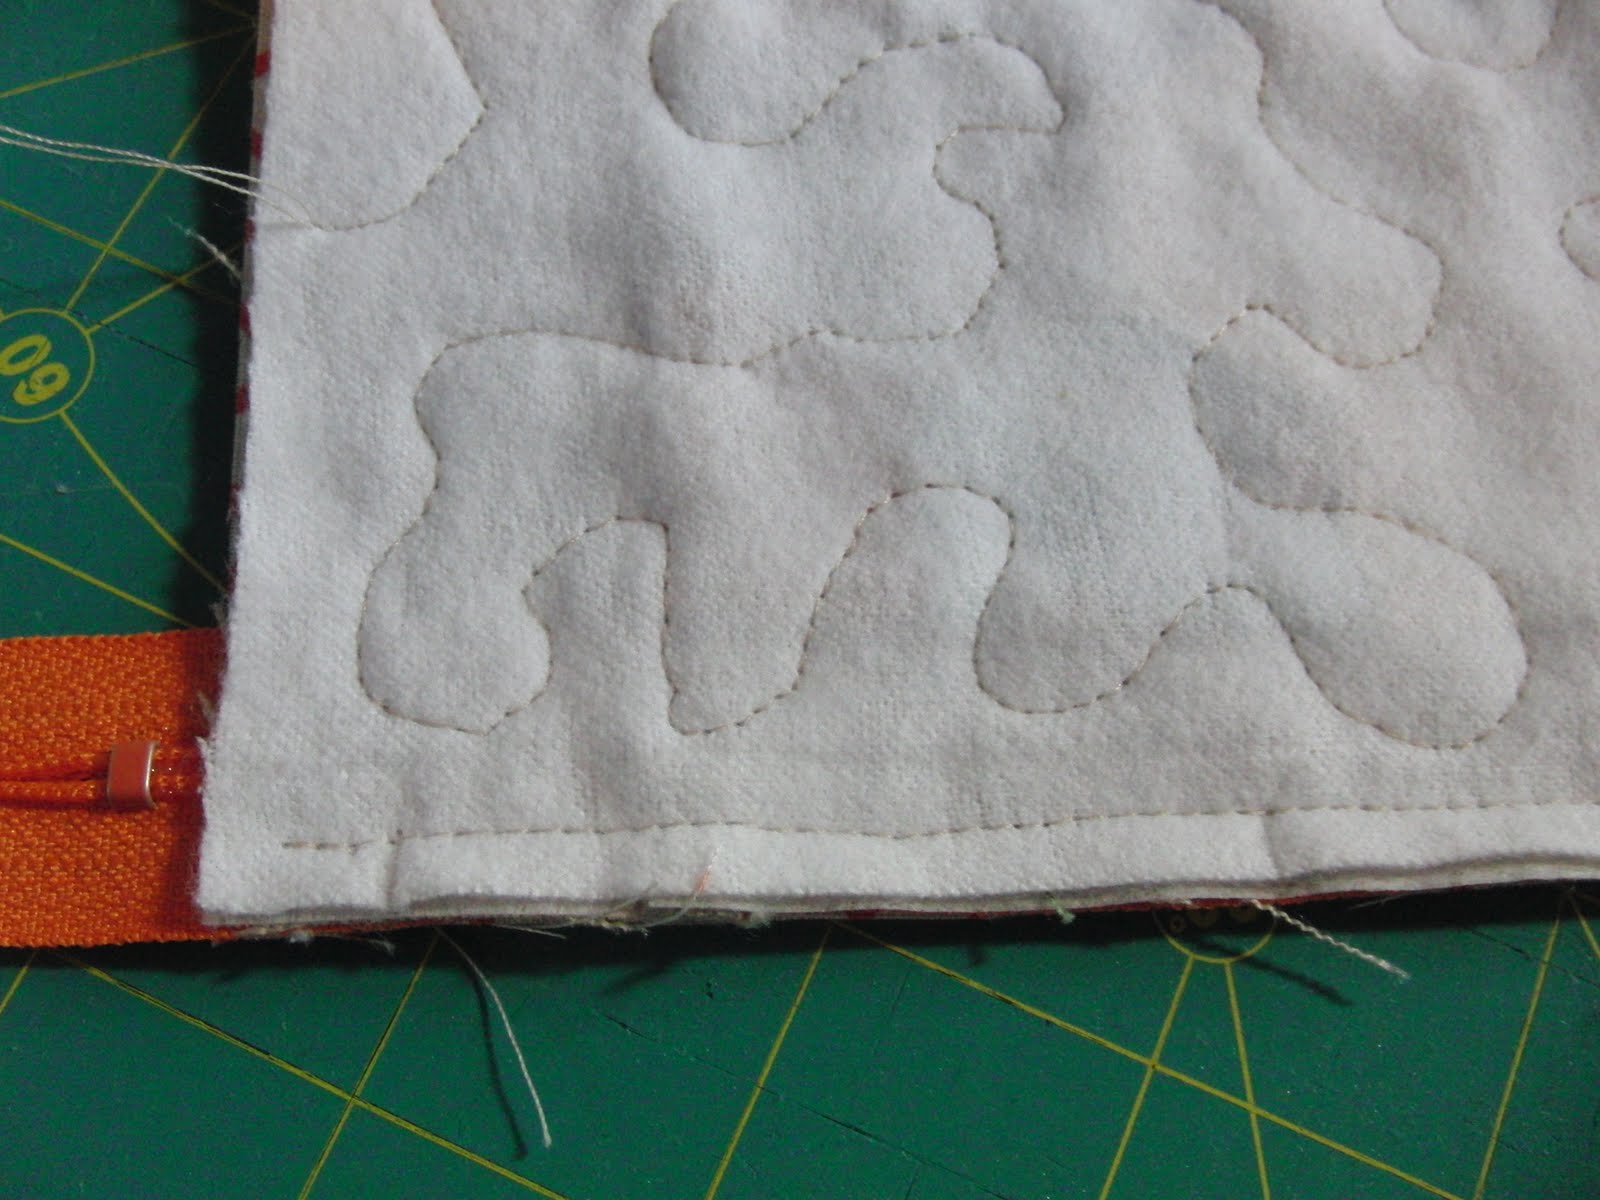
Quilt the flannel and hexie panel. I used free motion, but you can quilt it however you like - straight line, etc.
Here's a view of the back so you can get a better look at the quilting.
Grab your other two pieces of flannel and match them up with their corresponding exterior pieces. Quilt.
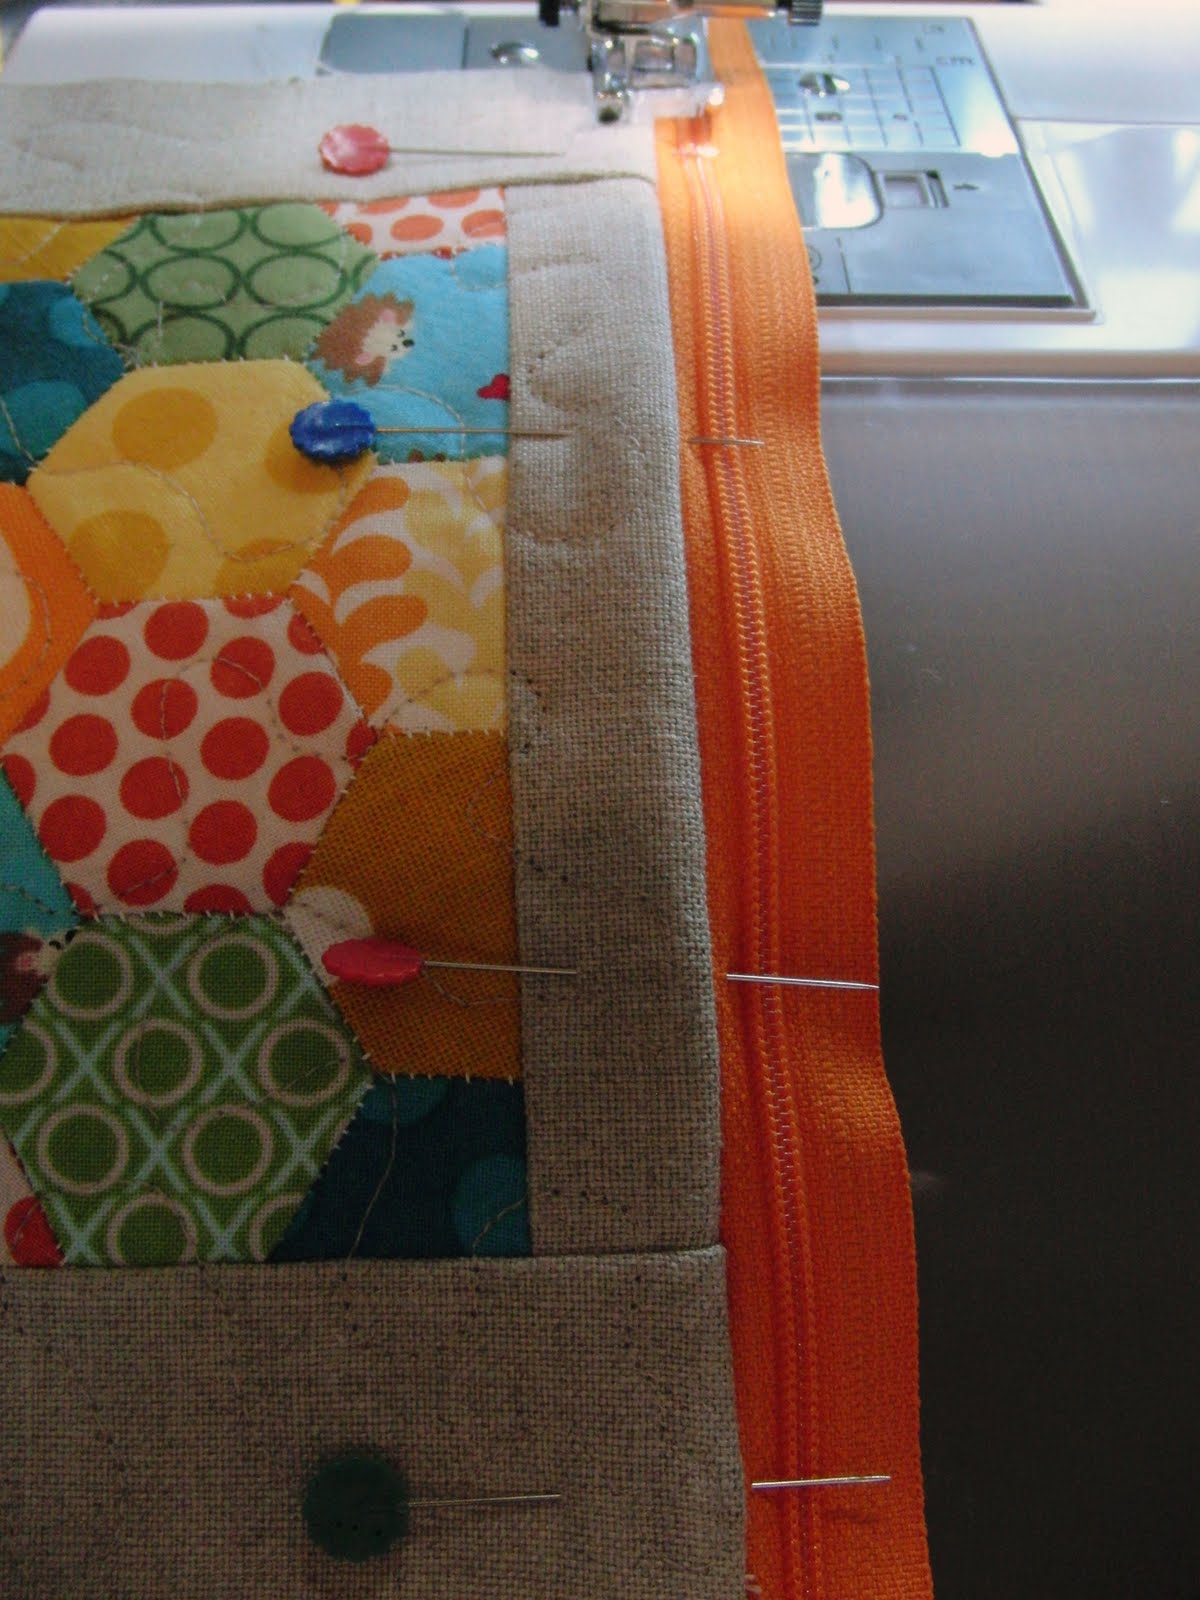
Now find your 6.75" x 8.25" lining piece. Layer as follows: Lining (right side up), zipper (right side up and centered), hexie panel (wrong side up). The zipper should be running across the top, 8.25" side.
Make sure the zipper pull is hanging off the end, and pin the layers in place.
Sew together using a 1/4" seam allowance.
Fold the lining back and press both sides in place. You might have to tug the fabric down a little before ironing.
Top stitch (about 1/8") from the edge.
Grab your remaining exterior and lining pieces and repeat the same process (layer lining (right side up), zipper, and exterior (wrong side up) - just like you did on the other side of the zipper).
Pin in place and sew 1/4" seam. Unfold, press and top stitch.
Move the zipper pull over a little, and sew the two sides of the zipper together to keep them from pulling apart too far. If you look below at the right end of the zipper (the part that's hanging off), you can see my stitches where I sewed across the zipper. When you're done, go ahead and open the zipper 2/3 of the way.
Now grab your 2" x 14" interfaced piece. Fold in half and press.
Unfold, and tuck the edges in toward the center seam you just made.
Fold in half along the original center seam you made and top stitch down the open end. It should be about 1/2" wide and look like the photo below.
Fold the strap in half and place the raw ends about 1" below the zipper. Fold the lining back so it doesn't get caught in the seam, and attach the strap to the exterior with an 1/8" seam. Doesn't have to be fancy - it's just to hold the strap in place until we sew the pouch together.
Next you'll layer as follows: remaining 8.25" x 8.25" lining piece (right side up), exterior hexie panel (right side up), remaining exterior panel (wrong side up). Pin and sew all three pieces together along the
top side only using 1/4" seam.
Now fold your exterior panels back so that they're right sides together. Sew a 1/4" seam along the
bottom only.
Repeat for the lining panels, leaving about a 3" opening in the center.
Now fold all the layers back together so that they make a wholesome and delicious fabric sandwich.
Sew ALL four layers together along the sides, starting 1/4" from the top and ending 1/4" from the bottom. I brought out big momma walking foot for this job because of how thick the layers are together, and I recommend you do the same. When you get to the zipper, sew over it, and then back up and run over it again to make sure it's good and
dead secured. You'll actually end up going over it three times once you go forward, hit reverse, and then go forward again. Do this for each side of the pouch.
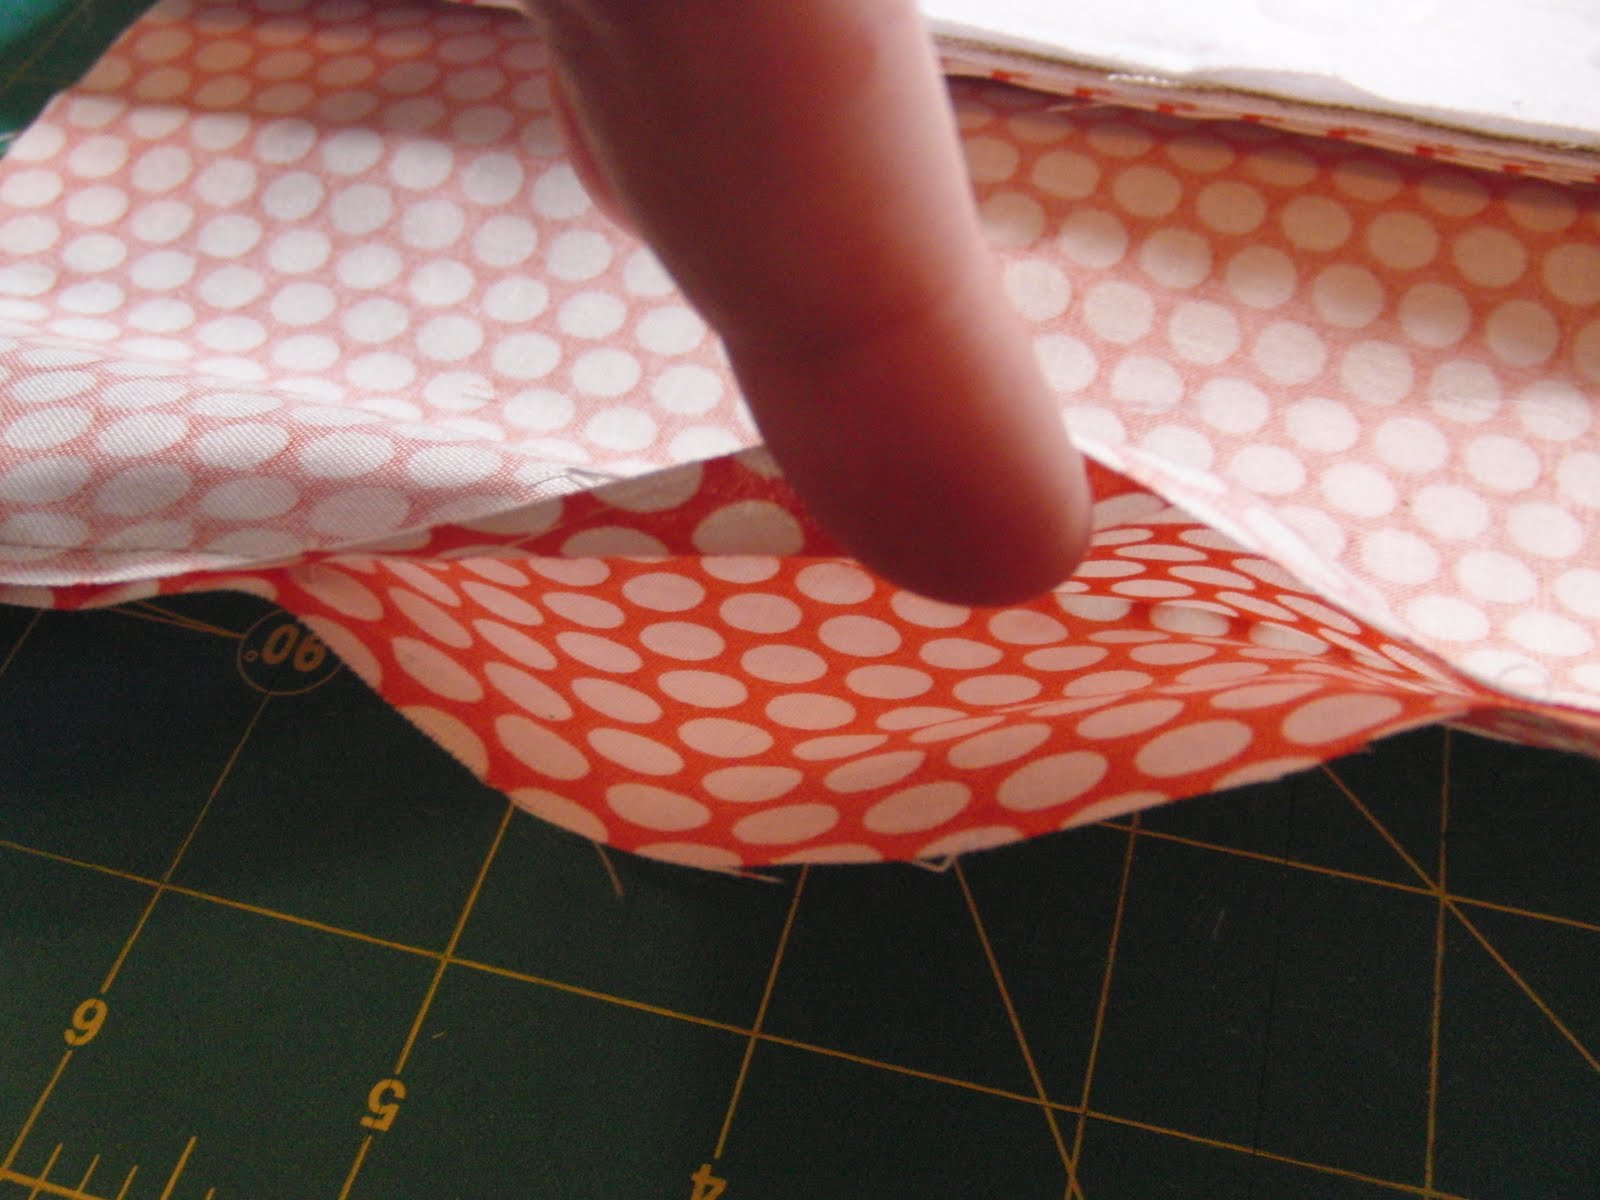
Your pouch should now look like the photo below. Trim the corners and excess zipper, then turn the bag right-side out through the opening in the bottom of the lining.
Then sew the opening shut with a teeny tiny seam.
Finish turning your bag right-side out and you're done - YAY!
 Thanks, Kaelin!