
With the end of the school year drawing near, I have decided to make some gifts for my kids' teachers, one of which is a knitter! I decided to use this fabric to make a drawstring bag, and give a skein of pretty sock yarn along with it. I named the bag the "sheep happens" bag, and it turned out so nicely that I thought I would make a tutorial to share with you here!

The bag is made of linen and cotton on the outside, and is lined with cotton. It is round bottomed, therefore can sit nicely on its own without toppling over, and the drawstring closure doubles as a handle. It came together quickly, and is the perfect size for small projects.

And here is how you can make your own!
Materials:
fat quarter of linen or home dec fabric for outer
fat quarter of cotton for inner
30" of pretty ribbon, 3/4" wide
Thread, etc
Cut:
6" x 21" of sheep fabric
6" x 21" of linen, sub cut into a 4" x 21" piece and a 2" x 21" piece
11" x 21" of lining
two circles of 6.5" diameter, one of each outer and lining fabrics (I used a bowl as a template)


Assembly:
NOTE: I used 1/4 seams, not the traditional 1/2" for bags. Because I am a quilter, after all ;)
1. Sew outer pieces, right sides together, along long sides such that the 4" strip is on the top, and the sheep piece is in the centre. Press seams.

2. Fold outer and lining, right sides together so that short raw edges are aligned.
For lining, sew along short side to make tube.
For outer piece, do the same, but stop sewing 3" from top. Backstitch. Leave 1" gap, and sew remainder of side to top. Flip to right side, finger press seams at gap away from hole, and sew short lines on either side of the hole to secure. This will be where the drawstring ribbon exits.


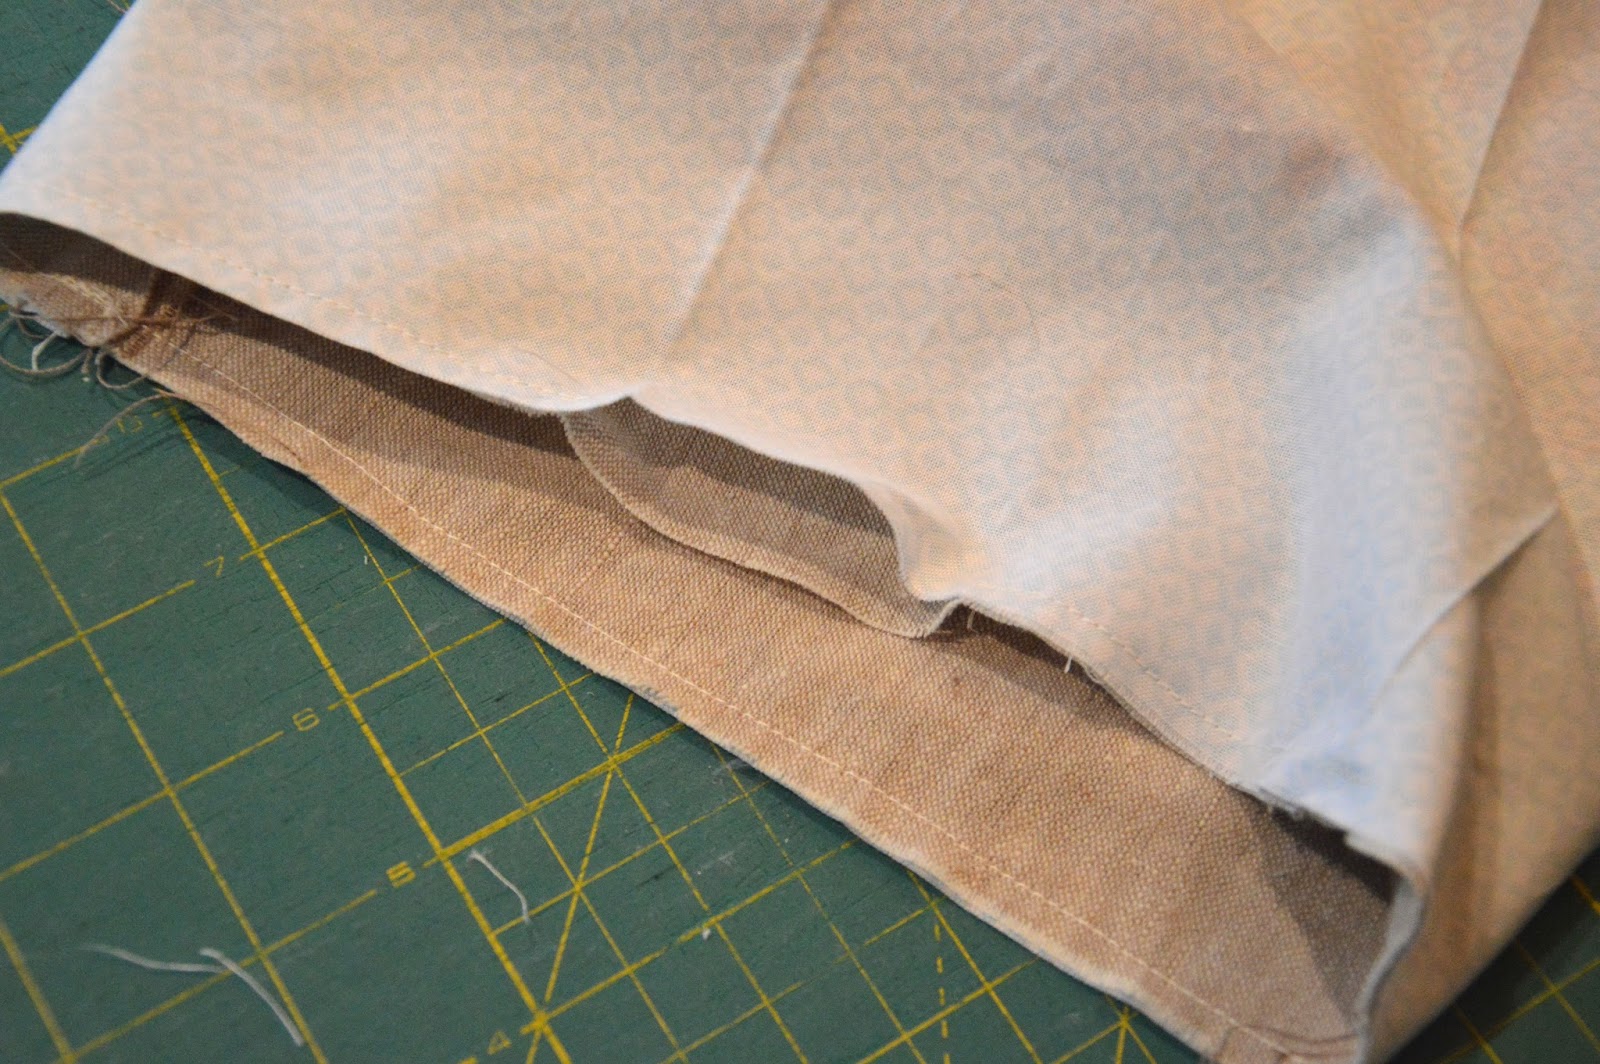
3. Press outer and lining tubes in half, and then in half again. Press along bottom edge to mark quarters. Do the same with the circle pieces (see photo).

4. Align circles with bottom of tubes, right sides together, matching and pinning the four creases around the circle.

5. Sew circles to tubes, working fabric from tube along circle's curve and ensuring that all 4 pinned corners line up.

6. Insert outer, right side out, into lining, wrong side out (i.e. right sides will be facing each other). Ensure side seams for the outer and lining are aligned. Pin, if desired.

7. Sew along top, leaving 2" hole for inverting.
8. Turn bag right side out and press top seam. Top stitch along top, close to the edge, to close the hole. Also topstitch on either side of ribbon hole to make channel for the ribbon as shown.

9. Turn edges of ends of ribbon over and stitch to prevent fraying. Secure large safety pin to one end and insert into hole.

10. Using your fingers, pull safety pin along the channel until the ribbon emerges out the other side. Tie ribbon ends into a knot.

Ta da! You have yourself a Sheep Happens project bag. Now go make something else to stick in it!!
Giveaway:
Wanna win a sheep happens bag? I am giving one away on Instagram today, Friday June 20. Come check out my feed for details (kristieocd). If you aren't on IG, leave a comment here before 3 PM (Central time) and I will enter you. Have a great Friday!
18 comments:
Just lovely...please include me!
That sheep dot fabric is just the cutest, and the bag is just so fun. Love it.
Adorable fabric! Thank you for sharing the tutorial!
Thank you for the great tutorial.
Very nice tutorial. Love the sheep fabric but this bag would look great in many fabrics. Still want the sheep, tho
Very nice tutorial. Love the sheep fabric but this bag would look great in many fabrics. Still want the sheep, tho
Very nice tutorial. Love the sheep fabric but this bag would look great in many fabrics. Still want the sheep, tho
Love your bag and your blog!
Thanks for the chance to win. I love this bag and have been to scared to try to make one. Winning one seems like the best option.
Thanks for entering me as I don't do instagram..
Shawn
Completely adorable - as usual!
Thanks for the tutorial! I've pinned it for future use. I'm sure your daughter's teacher will love the bag. There's nothing like a beautiful, thoughtful, homemade gift!
Absolutely freaking awesome. Im about to pin this so I can make one for toting hand sewing around with me !
Thanks for the easy to follow tute Kristie. It's brilliant !
I love those sheep! Great bag too :o)
That fabric is fantastic! And I love your bag too!
The fabric I want to use for the exterior is 100% cotton. Is this a bad idea?
I made two. Exactly what I needed. Thank you.
Absolutely wonderful post! What a perfect concept. Thank you stridereviewzone
Thanks, it was a great tutorial, easy to follow
Post a Comment